
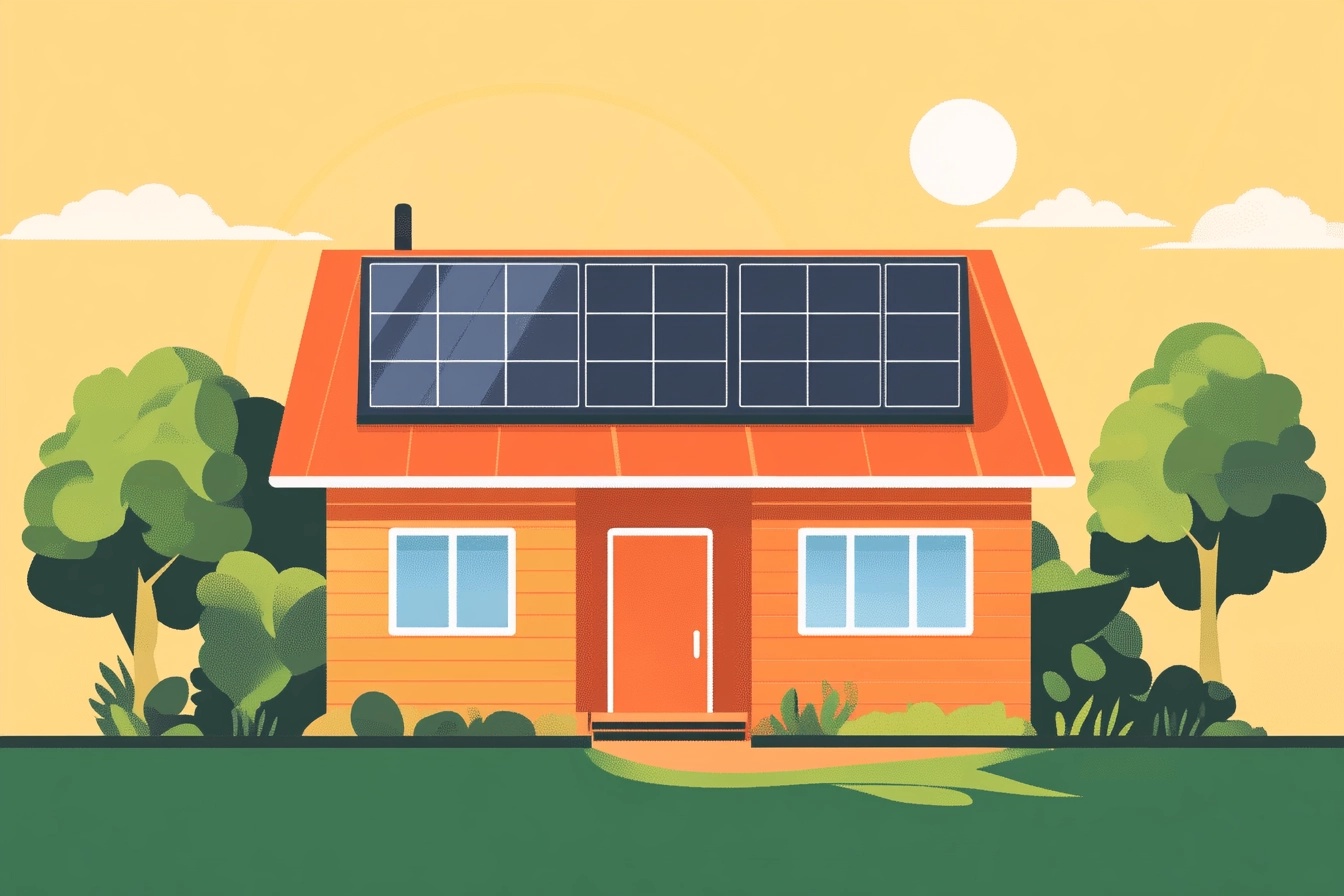
Residential solar power has been gaining traction across the United States as more homeowners seek to reduce energy costs and embrace renewable energy. However, the adoption of solar energy varies significantly from state to state. Here’s a countdown from 50 to 1, with 1 being the state with the most residential solar installations in 2024.
50. North Dakota
49. West Virginia
48. South Dakota
47. Montana
46. Nebraska
45. Wyoming
44. Alaska
43. Idaho
42. Mississippi
41. Alabama
40. Kentucky
39. Arkansas
38. Louisiana
37. Missouri
36. Indiana
35. Kansas
34. Ohio
33. Tennessee
32. Iowa
31. Michigan
30. Oklahoma
29. Minnesota
28. Wisconsin
27. Pennsylvania
26. Illinois
25. Virginia
24. South Carolina
23. Nevada
22. Oregon
21. Washington
20. New York
19. Maryland
18. Connecticut
17. Georgia
16. Massachusetts
15. Colorado
14. New Jersey
13. Texas
12. Arizona
11. North Carolina
10. Utah
9. Rhode Island
8. Vermont
7. Florida
6. Hawaii
5. Delaware
4. Nevada
3. New Mexico
2. California
1. Texas
Why Do Some States Lead in Solar Adoption?
Several factors contribute to why certain states rank higher in residential solar adoption:
Sunlight Availability: States like California, Texas, and Florida naturally have more sunlight, making solar energy more viable and attractive. The high solar irradiance ensures that solar panels operate at their full potential.
Incentive Programs: States that rank high typically offer robust incentive programs that make solar installation more affordable. For instance, New Jersey’s Successor Solar Incentive (SuSI) program provides substantial financial incentives, including payouts for generated solar energy. Similarly, Massachusetts has a strong Solar Renewable Energy Credit (SREC) market that incentivizes solar production.
Net Metering: States with favorable net metering policies, like California and New York, allow homeowners to sell excess electricity back to the grid at favorable rates, making solar installations financially beneficial.
High Electricity Rates: In states like Hawaii and Connecticut, the high cost of electricity makes solar power an economically attractive alternative, leading to quicker payback periods for solar installations.
State Policies and Renewable Energy Goals: Many leading states have aggressive renewable energy mandates or goals. California, for instance, has set ambitious targets for renewable energy, which has spurred widespread adoption of solar power.
Economic Incentives: Many states provide grants, rebates, and tax incentives that reduce the upfront costs of solar installations. This financial support is crucial for many homeowners who might otherwise find the initial investment too steep.
Conclusion
The variation in solar adoption across the United States is largely driven by a combination of natural, economic, and policy factors. States with abundant sunshine, strong policy support, and high electricity costs tend to see the highest adoption rates. As more states introduce favorable policies and as the cost of solar continues to fall, we can expect these rankings to evolve, with more states moving up the list.
10 reasons we’ve heard customers say they love solar.
10. Community Impact
Going solar can inspire others in the community to consider renewable energy options. It fosters a culture of sustainability and environmental responsibility, creating a positive ripple effect.
9. Energy Security
Solar energy can contribute to a more secure energy future. By diversifying our energy sources and reducing reliance on imported fuels, solar power enhances national energy security.
8. Job Creation
The solar industry is a significant source of job creation. By going solar, individuals support an industry that provides employment opportunities in manufacturing, installation, and maintenance.
7. Low Maintenance
Solar panels require minimal maintenance. With no moving parts, they are durable and can last a long time with little upkeep, providing a hassle-free energy solution.
6. Technological Advancements
Advancements in solar technology have made panels more efficient and affordable than ever before. Innovations continue to improve the performance and aesthetics of solar systems, making them an attractive option for more homeowners.
5. Possible Government Incentives
Many governments offer incentives, such as tax credits and rebates, to encourage the adoption of solar energy. These financial incentives can significantly offset the initial cost of installing solar panels.
4. Potential for Increased Property Value
Homes equipped with solar panels can often see an increase in property value. Potential buyers are attracted to the prospect of lower energy bills and the eco-friendly benefits of solar energy.
3. Energy Independence
With solar panels, homeowners can produce their own electricity, reducing their dependence on the grid. This independence can be particularly valuable during power outages or in remote areas where grid access is limited if they have batteries as well.
2. Environmental Impact
Solar energy is a clean, renewable resource that reduces our reliance on fossil fuels. By going solar, individuals can significantly lower their carbon footprint and contribute to a healthier planet.
1. Savings on Energy Bills
One of the most compelling reasons people switch to solar energy is the potential for savings on their electricity bills. By generating their own power, homeowners can often reduce their monthly energy costs.
Switching to solar energy offers a multitude of benefits, from financial savings to environmental stewardship. It’s no wonder more and more people are making the switch and loving the results!
What do you think? Are you considering going solar too? 🌞
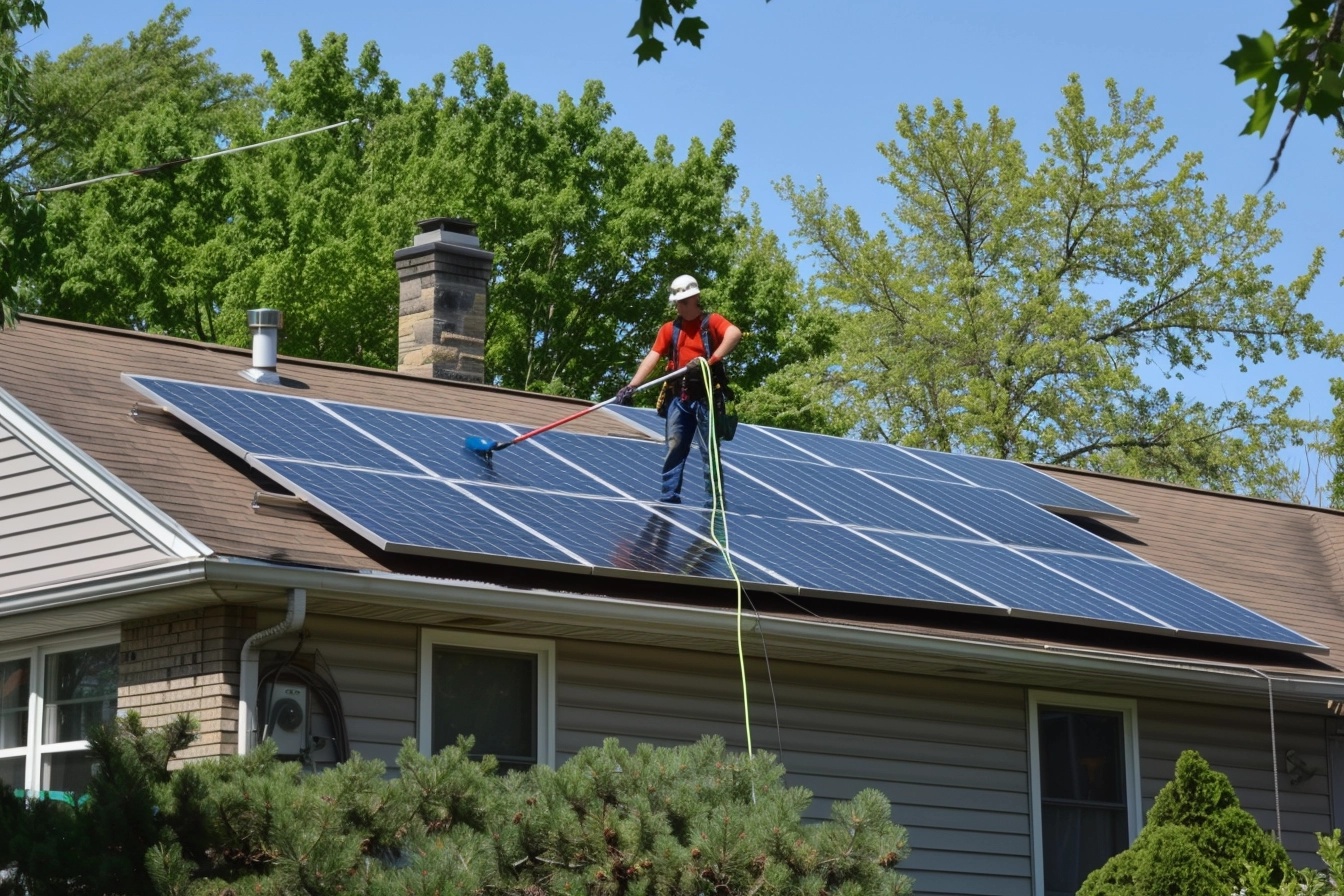
Solar panels are a great way to harness renewable energy and reduce your carbon footprint. However, to ensure they operate at peak efficiency, it’s essential to keep them clean. Dust, dirt, pollen, and bird droppings can accumulate on the panels and significantly reduce their ability to absorb sunlight. Here’s a comprehensive guide on how to clean your solar panels effectively and safely.
Step 1: Safety First
1. Turn Off the System: Before you start cleaning, make sure to turn off your solar panel system. This step is crucial to avoid any electrical hazards. Refer to your system’s manual for instructions on how to safely shut it down.
2. Check the Manufacturer’s Instructions: Consult the manufacturer’s guidelines for any specific cleaning recommendations or warnings. Some manufacturers may have specific cleaning methods or restrictions to avoid voiding the warranty.
Step 2: Gather Your Supplies
You don’t need any fancy equipment to clean solar panels. Here’s a list of basic supplies you’ll need:
- Soft brush or squeegee with a long extension
- Hose with a gentle spray nozzle
- Bucket of lukewarm water
- Mild detergent (if needed)
- Soft cloth or sponge
- Safety harness (if cleaning rooftop panels)
- Ladder (if necessary)
Step 3: Choose the Right Time
The best time to clean solar panels is either early in the morning or late in the afternoon. During these times, the panels are cooler, reducing the risk of thermal shock or damage from rapid temperature changes. Additionally, cleaning in cooler weather helps prevent the water from evaporating too quickly, which can leave streaks or residue.
Step 4: Remove Loose Debris
Start by removing any loose debris, such as leaves or twigs, from the surface of the panels. You can use a soft brush or a leaf blower for this task. Be gentle to avoid scratching the surface of the panels.
Step 5: Rinse with Water
Use a hose with a gentle spray nozzle to rinse the panels with water. This will help remove dust and loose dirt. Avoid using high-pressure water, as it can damage the panels or the wiring underneath.
Step 6: Clean with Soapy Water
Fill a bucket with lukewarm water and add a small amount of mild detergent. Dip a soft cloth or sponge into the soapy water and gently scrub the surface of the panels. Avoid using abrasive materials or harsh chemicals, as they can scratch or damage the panels.
Step 7: Rinse and Dry
After scrubbing, rinse the panels thoroughly with clean water to remove any soap residue. Use a squeegee to remove excess water and prevent streaks. If necessary, wipe the panels with a soft, dry cloth to ensure they are completely dry.
Step 8: Inspect for Damage
While cleaning, take the opportunity to inspect your solar panels for any signs of damage, such as cracks, chips, or loose connections. If you notice any issues, contact a professional for repairs to ensure your system continues to operate safely and efficiently.
Step 9: Turn the System Back On
Once the panels are clean and dry, you can turn your solar panel system back on. Refer to your system’s manual for instructions on how to safely restart it.
Additional Tips:
- Regular Maintenance: Clean your solar panels at least twice a year, or more frequently if you live in a particularly dusty or pollen-heavy area.
- Professional Cleaning: If you’re not comfortable cleaning the panels yourself or if they are difficult to access, consider hiring a professional cleaning service.
- Monitor Performance: Keep an eye on your system’s performance. If you notice a significant drop in energy production, it might be time for a cleaning or inspection.
By following these steps, you can ensure that your solar panels remain clean and efficient, maximizing their energy production and extending their lifespan. Happy cleaning!

Investing in residential solar panels is an excellent way to reduce your carbon footprint and save on electricity costs. However, the amount of money you can save depends significantly on the number of sun hours your location receives. This blog post will explore how sun hours affect your solar savings and what factors you should consider when evaluating the potential benefits of residential solar.
Understanding Sun Hours
Sun hours, also known as peak sun hours, refer to the amount of sunlight a location receives in a day, measured in hours of maximum solar radiation. One peak sun hour is equivalent to 1,000 watts of solar energy per square meter of solar panel per hour. This metric is crucial because it directly impacts the amount of electricity your solar panels can generate.
Geographic Location
Your geographic location is the primary determinant of the number of sun hours you receive. Areas closer to the equator typically enjoy more consistent and intense sunlight throughout the year, leading to higher solar energy production. For example, southern states in the U.S., such as Arizona and California, receive more sun hours compared to northern states like Washington or New York.
Seasonal Variations
Sun hours can also vary with the seasons. In many regions, the summer months bring longer days and more intense sunlight, leading to higher solar energy production. Conversely, winter months have shorter days and less sunlight, which can reduce the efficiency of your solar panels. Understanding these seasonal variations can help you estimate the annual solar output and potential savings.
Solar Panel Orientation and Tilt
The orientation and tilt of your solar panels can significantly impact the number of effective sun hours they receive. Ideally, solar panels should be installed facing true south in the northern hemisphere (or true north in the southern hemisphere) to maximize sun exposure. The tilt angle should be adjusted according to your latitude to capture the maximum amount of sunlight throughout the year.
Local Climate and Weather Patterns
Local climate and weather patterns also play a crucial role in determining sun hours. Areas with frequent cloudy or rainy days will have reduced sun hours compared to regions with clear, sunny skies. While occasional clouds won’t drastically affect your solar savings, consistently overcast conditions can lead to lower energy production and savings.
Shading and Obstructions
Shading from trees, buildings, or other obstructions can significantly reduce the number of sun hours your solar panels receive. Even partial shading can cause a disproportionate drop in solar panel efficiency. Conducting a thorough shading analysis before installation can help you identify and mitigate potential shading issues to maximize your sun hours and savings.
Calculating Solar Savings
To estimate your solar savings, you need to consider the average number of peak sun hours your location receives and the efficiency of your solar panels. Most solar panels have an efficiency rating that indicates the percentage of sunlight they can convert into electricity. By multiplying the average daily sun hours by the total capacity of your solar system and its efficiency, you can estimate the amount of electricity your system will generate.
For example, if you live in an area that receives an average of 5 peak sun hours per day, and you have a 5 kW solar system with an efficiency of 20%, your daily electricity generation would be:
5 hours/day × 5kW × 0.20 = 5kWh/day
5 hours/day×5 kW×0.20=5 kWh/day
By comparing this figure to your daily electricity consumption, you can estimate your potential savings.
Maximizing Your Solar Savings
To maximize your solar savings, consider the following tips:
- Optimal Installation: Ensure your solar panels are installed at the best orientation and tilt for your location.
- Regular Maintenance: Keep your solar panels clean and free from debris to maintain their efficiency.
- Monitor Shading: Regularly check for new shading from growing trees or new constructions and address any issues promptly.
- Energy Efficiency: Complement your solar system with energy-efficient appliances and habits to reduce overall consumption.
Conclusion
Sun hours play a pivotal role in determining the effectiveness and savings of residential solar systems. By understanding and optimizing factors such as geographic location, seasonal variations, panel orientation, and local climate, you can maximize your solar energy production and achieve significant cost savings. Investing in residential solar is not just about harnessing the power of the sun; it’s about making smart choices to ensure you get the most out of your solar investment.
Embrace the power of solar energy and start your journey toward sustainable living and financial savings today!
Solar panels convert sunlight into electricity through a fascinating process called the photovoltaic effect. Here’s how it works:
The Photovoltaic Effect
At the heart of solar energy conversion is the photovoltaic (PV) cell, the basic building block of a solar panel. These cells are typically made from silicon, a semiconductor material. When sunlight strikes a PV cell, it initiates a series of events:
- Photon absorption: Sunlight is composed of tiny packets of energy called photons. When these photons hit the PV cell, they are absorbed by the semiconductor material.
- Electron excitation: The absorbed photons energize electrons within the silicon atoms, causing them to break free from their atomic bonds.
- Electron flow: The PV cell is designed with two layers of silicon – one positively charged (p-type) and one negatively charged (n-type). This creates an electric field that directs the flow of freed electrons, generating an electric current.
- Electricity generation: The movement of these electrons creates a direct current (DC) of electricity.
From Cell to Panel to Array
Individual PV cells are combined to form solar panels, which can then be connected into larger arrays:
- A single PV cell typically produces only 1 or 2 watts of power.
- Multiple cells are electrically connected and packaged into a solar panel (or module).
- Panels can be further combined into arrays to increase the total power output.
Converting DC to AC
The electricity generated by solar panels is direct current (DC), but most household appliances and the power grid use alternating current (AC). To address this:
- Inverters are used to convert the DC electricity from the panels into AC electricity.
- This AC electricity can then be used to power homes, businesses, or fed back into the electrical grid.
Efficiency and Advancements
The efficiency of solar panels has improved significantly over time:
- In the mid-1980s, commercial PV panels averaged less than 10% efficiency.
- By 2015, this had increased to around 15%.
- Today, state-of-the-art modules are approaching 25% efficiency.
- Experimental PV cells for specialized applications have achieved nearly 50% efficiency.
Applications and Benefits
Solar energy has a wide range of applications, from powering small calculators to providing electricity for entire communities. The benefits of solar power include:
- Clean, renewable energy production with no harmful emissions during operation.
- Reduced dependence on fossil fuels and lower carbon footprint.
- Potential for significant cost savings on electricity bills over time.
- Contribution to a more resilient and diversified energy grid.
As technology continues to advance and costs decrease, solar energy is playing an increasingly important role in the global transition to clean, sustainable energy sources. The ability to harness the sun’s vast energy potential through the simple yet ingenious process of photovoltaics represents a bright future for renewable energy.

Solar batteries have become an increasingly popular addition to home solar systems, offering a range of benefits for homeowners looking to maximize their energy independence and savings.
Here’s how solar batteries work and why they’re worth considering:
How do solar batteries work?
Solar batteries store excess electricity generated by your solar panels for later use. During sunny periods when your panels produce more power than you’re consuming, instead of sending that extra electricity back to the grid, it charges your battery. When the sun goes down or during periods of high energy usage, you can then draw power from the battery rather than purchasing it from the utility company.
The most common type of solar battery uses lithium-ion technology. Inside the battery, lithium ions move between a positively-charged cathode and a negatively-charged anode through an electrolyte. This movement of ions creates an electrical current that can power your home. When charging, the process reverses, allowing the battery to store energy for future use.
What are the benefits of solar batteries?
The primary benefit of a solar battery is energy independence. By storing your own solar power, you can reduce reliance on the grid and potentially avoid time-of-use rates when electricity is most expensive. Solar batteries can also provide backup power during outages, keeping essential appliances running when the grid goes down.
Why Consider a Solar Battery?
There are several compelling reasons to consider adding a battery to your solar system:
- Maximize self-consumption: Use more of the solar energy you produce rather than sending it back to the grid.
- Reduce peak demand charges: Draw from your battery during high-cost periods to lower your electricity bills.
- Increase energy resilience: Keep your lights on and critical appliances running during power outages.
- Support grid stability: By reducing your reliance on the grid, you help balance overall electricity demand.
- Potential financial incentives: Some areas offer rebates or tax credits for installing energy storage systems.
Why Are Enphase Batteries a Great Choice?
While there are many solar battery options on the market, Enphase stands out as an excellent choice for several reasons:
- Modular design: Enphase’s microinverter technology allows for a scalable, flexible system that can grow with your energy needs.
- High efficiency: Enphase batteries boast some of the highest round-trip efficiency ratings in the industry, meaning less energy is lost in the storage process.
- Reliability: With no single point of failure, Enphase systems offer enhanced reliability compared to traditional string inverter setups.
- Smart monitoring: Enphase’s Enlighten software provides detailed insights into your energy production, consumption, and storage.
- Safety: Enphase batteries use Lithium Iron Phosphate (LFP) chemistry, which is known for its thermal stability and safety profile.
- Seamless integration: Enphase offers a complete ecosystem of solar and storage products designed to work together seamlessly.
LGCY Power offers the Enphase battery system, and by choosing an Enphase battery, you’re investing in a cutting-edge, reliable solution that can help you maximize the benefits of your solar installation while increasing your energy independence and resilience.
How many solar batteries would you need to power your home?
The answer is… it depends. LGCY Power can walk you through your energy consumption needs and help you determine the number of batteries that would make sense.
Solar batteries are a powerful tool for homeowners looking to take control of their energy usage and costs.

As energy costs continue to rise, finding effective ways to reduce your energy bill becomes increasingly important. At LGCY Power, we understand the value of conserving energy and saving money. Here’s our countdown our 10 favorite ways to save on your energy bill, culminating in the ultimate energy-saving solution.
10. Switch to LED Lighting
Swapping out traditional incandescent bulbs for LED lighting is a simple yet impactful change. LED bulbs use up to 80% less energy and last significantly longer, reducing both your energy consumption and replacement costs.
Does Unplugging Electronics Save on Electricity?
9. Use Smart Power Strips
Many electronics continue to draw power even when turned off. Smart power strips cut off the electricity supply to devices that are in standby mode, effectively eliminating “phantom” energy use and saving you money over time.
What runs your electricity bill up the most?
8. Install a Programmable Thermostat
Heating and cooling account for nearly half of the average household’s energy bill. A programmable thermostat allows you to set specific temperatures for different times of the day, ensuring that you’re not wasting energy when you’re not home or while you sleep.
7. Optimize Your Water Heater
Lowering the temperature on your water heater to 120 degrees Fahrenheit can save energy and reduce costs. Additionally, insulating your water heater and the first six feet of hot and cold water pipes can improve efficiency.
6. Seal and Insulate Your Home
Proper insulation and sealing of gaps and cracks in your home prevent heat from escaping in the winter and cool air from leaking out in the summer. This reduces the workload on your heating and cooling systems, resulting in lower energy consumption.
5. Use Energy-Efficient Appliances
When it’s time to replace old appliances, choose those with the Energy Star label. These appliances meet strict efficiency guidelines and can use up to 50% less energy than their non-efficient counterparts.
4. Maximize Natural Light
Take advantage of natural light by keeping blinds and curtains open during the day. This reduces the need for artificial lighting and can help to heat your home in the winter, lowering both lighting and heating costs.
3. Perform Regular HVAC Maintenance
Regular maintenance of your heating, ventilation, and air conditioning (HVAC) system ensures it runs efficiently. Clean filters, unobstructed vents, and professional tune-ups prevent your system from working harder than necessary, saving energy and extending its lifespan.
2. Use Ceiling Fans Wisely
Ceiling fans can help circulate air and reduce the need for heating and cooling. In the summer, set fans to spin counterclockwise to create a cooling breeze. In the winter, set them to spin clockwise at a low speed to push warm air down from the ceiling.
1. Invest in Solar Energy
And our favorite way to save money on your energy bill is through solar energy. Solar panels harness the power of the sun to generate electricity, significantly reducing or possibly eliminating your reliance on traditional power sources. With solar energy, you can lock in lower energy costs, potentially increase your property value, and contribute to a more sustainable future.
What’s the Most Efficient Way to Save on Electricity?
By implementing these energy-saving strategies, you can reduce your energy consumption, lower your bills, and make a positive impact on the environment. From simple changes like switching to LED bulbs to transformative solutions like installing solar panels, each step you take contributes to greater savings and a more energy-efficient home. At [Solar Company Name], we’re here to help you achieve your energy-saving goals. Contact us today to learn more about how solar energy can benefit you.

10. Chicago Riverwalk
- A scenic route along the Chicago River, ideal for short commutes within the downtown area.
9. South Lakefront Trail
- Extends from 71st Street to 31st Street, providing a beautiful lakeside ride, perfect for those living in the southern neighborhoods.
8. North Branch Trail
- A serene path running through forest preserves, connecting the northern suburbs to the city, great for a longer, peaceful commute.
7. Boulevard System
- A historic network of tree-lined boulevards, offering a quieter alternative to main roads for central and west side commuters.
6. 606 Trail (Bloomingdale Trail)
- An elevated trail that runs through several northwest neighborhoods, popular for its connectivity and urban views.
5. Humboldt Park Greenway
- A shorter trail that runs through Humboldt Park, connecting to other major trails and bike lanes in the city.
4. Burnham Greenway
- A trail that connects Chicago to the suburbs to the south, ideal for longer commutes from places like Calumet City.
3. Major Taylor Trail
- Named after the famous African American cyclist, this trail connects several south side neighborhoods, providing a direct route downtown.
2. North Shore Channel Trail
- Follows the North Shore Channel, linking northern suburbs like Skokie and Evanston with the city, offering a scenic and efficient route.
1. Lakefront Trail
- Stretching 18 miles along Lake Michigan, this is the most popular trail for commuting due to its direct route through the city, stunning views, and access to numerous neighborhoods and downtown.Also learn about the Illinois net metering changes coming in 2025.

Bachman Lake Trail
Located near Love Field Airport, this 3.5-mile loop around Bachman Lake is popular for short commutes and offers scenic views of the lake and downtown Dallas.
Santa Fe Trail
A 4.3-mile trail connecting Deep Ellum to White Rock Lake, ideal for those commuting from East Dallas to the downtown area. It’s a straight path with plenty of greenery.
Northaven Trail
This 8.5-mile trail runs east to west through North Dallas, providing a direct route for commuters. It’s well-maintained and has several access points.
Katy Trail
One of the most famous trails, it’s a 3.5-mile path that runs from Victory Park to Highland Park. Perfect for downtown commuters and well-lit for evening rides.
White Rock Creek Trail
Spanning 7.8 miles, this trail connects White Rock Lake to the LBJ Freeway, making it a key route for north-south commutes. It’s surrounded by natural scenery.
SoPac Trail
A newer addition, this 5.5-mile trail connects Uptown to the Lake Highlands area, providing a smooth, uninterrupted ride for commuters.
Campion Trail
Located in Irving, this 13-mile trail follows the Elm Fork of the Trinity River and connects to other major trails, making it a great route for long-distance commuters.
Preston Ridge Trail
A 6.3-mile trail running through North Dallas, connecting parks and neighborhoods. It’s a straight, convenient path for commuting.
Trinity Strand Trail
This 2.5-mile trail connects the Design District to the Katy Trail, offering a unique route through the heart of the city’s creative hub.
White Rock Lake Trail
A 9.3-mile loop around White Rock Lake, this trail is a favorite for both recreation and commuting. It offers stunning lake views and connects to several other major trails.